Marketing Pop-Up

July 22, 2026
The Marketing Pop Up lets you display a popup on your website to collect customer contact information. You can automatically add customers who submit the form to your email subscription lists.
Accessing the Marketing Pop Up
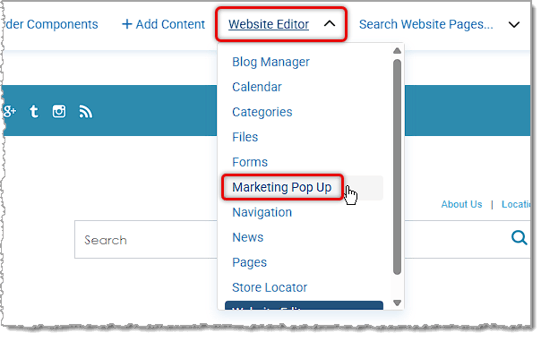
In the main system menu, go to Website > Website Editor and click to open the Website Editor drop-list in the upper right and select Marketing Pop Up, as pictured below.
Content Settings
The Content tab is where you configure the popup's text, fields, and behavior. Here is how you can configure your Marketing Pop Up Content:
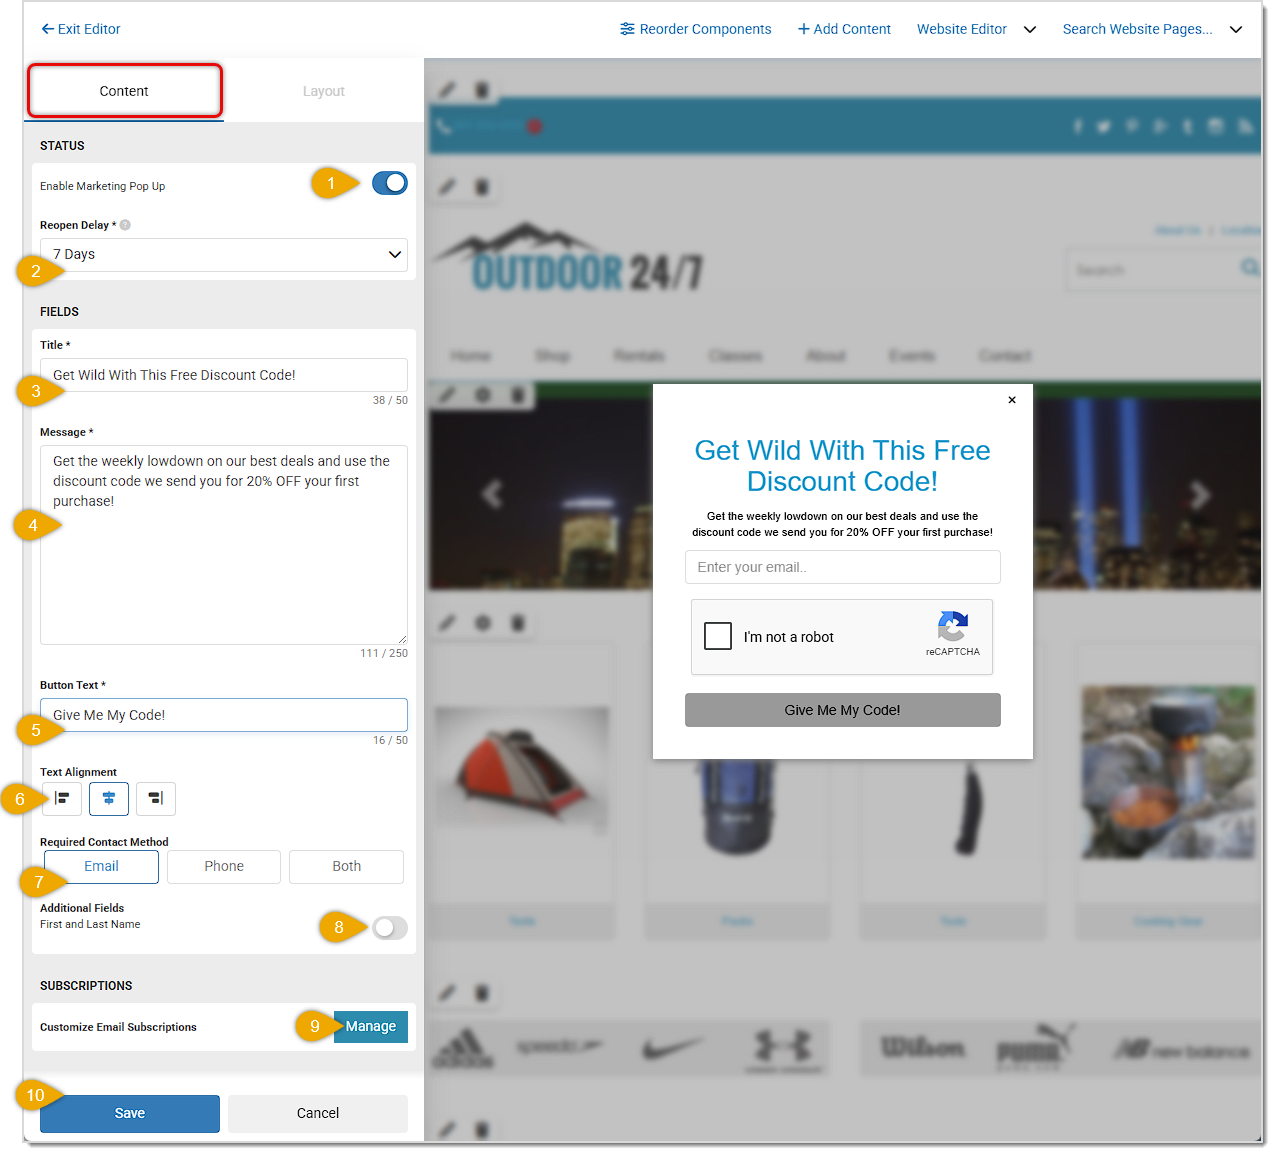
- Enable Marketing Pop Up — Toggle the Pop Up on or off for your website.
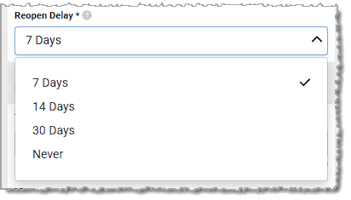
- Reopen Delay — Choose how long to wait before showing the popup again to a visitor who dismissed it. Visitors who sign up won't see it again. Options include 7 Days (default), 14 Days, 30 Days, and Never.
- Title — Enter the text you want for the heading displayed on the popup (max 50 characters).
- Message — If you want, you can enter a short message shown below the title (max 250 characters).
- Button Text — Enter the text you want for the Submit button (max 50 characters).
- Text Alignment — Align the Title and Message text to the Left, Center (default), or Right.
- Required Contact Method — Choose which contact fields are required for visitors to submit the form:
- Email — Only an email address is required.
- Phone — Only a phone number is required.
- Both — Both email and phone are required.
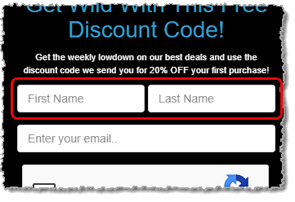
- First and Last Name — Toggle this on to display the First Name and Last Name fields in the Pop Up window.
- Customize Email Subscriptions — Click the Manage button to choose which email lists or groups customers are automatically added to when they sign up.
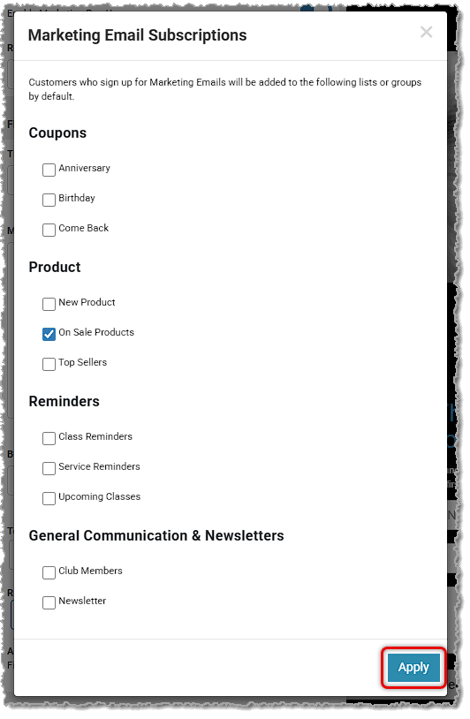
- Save — Once you've configured your content and layout, click Save to apply your changes. Please note that saving the Marketing Pop Up will close the panel. If you have more options you want to configure, such as the Layout tab, you may want to make those adjustments first.
Layout Settings
The Layout tab controls the visual appearance of the popup. Here are your configuration options:
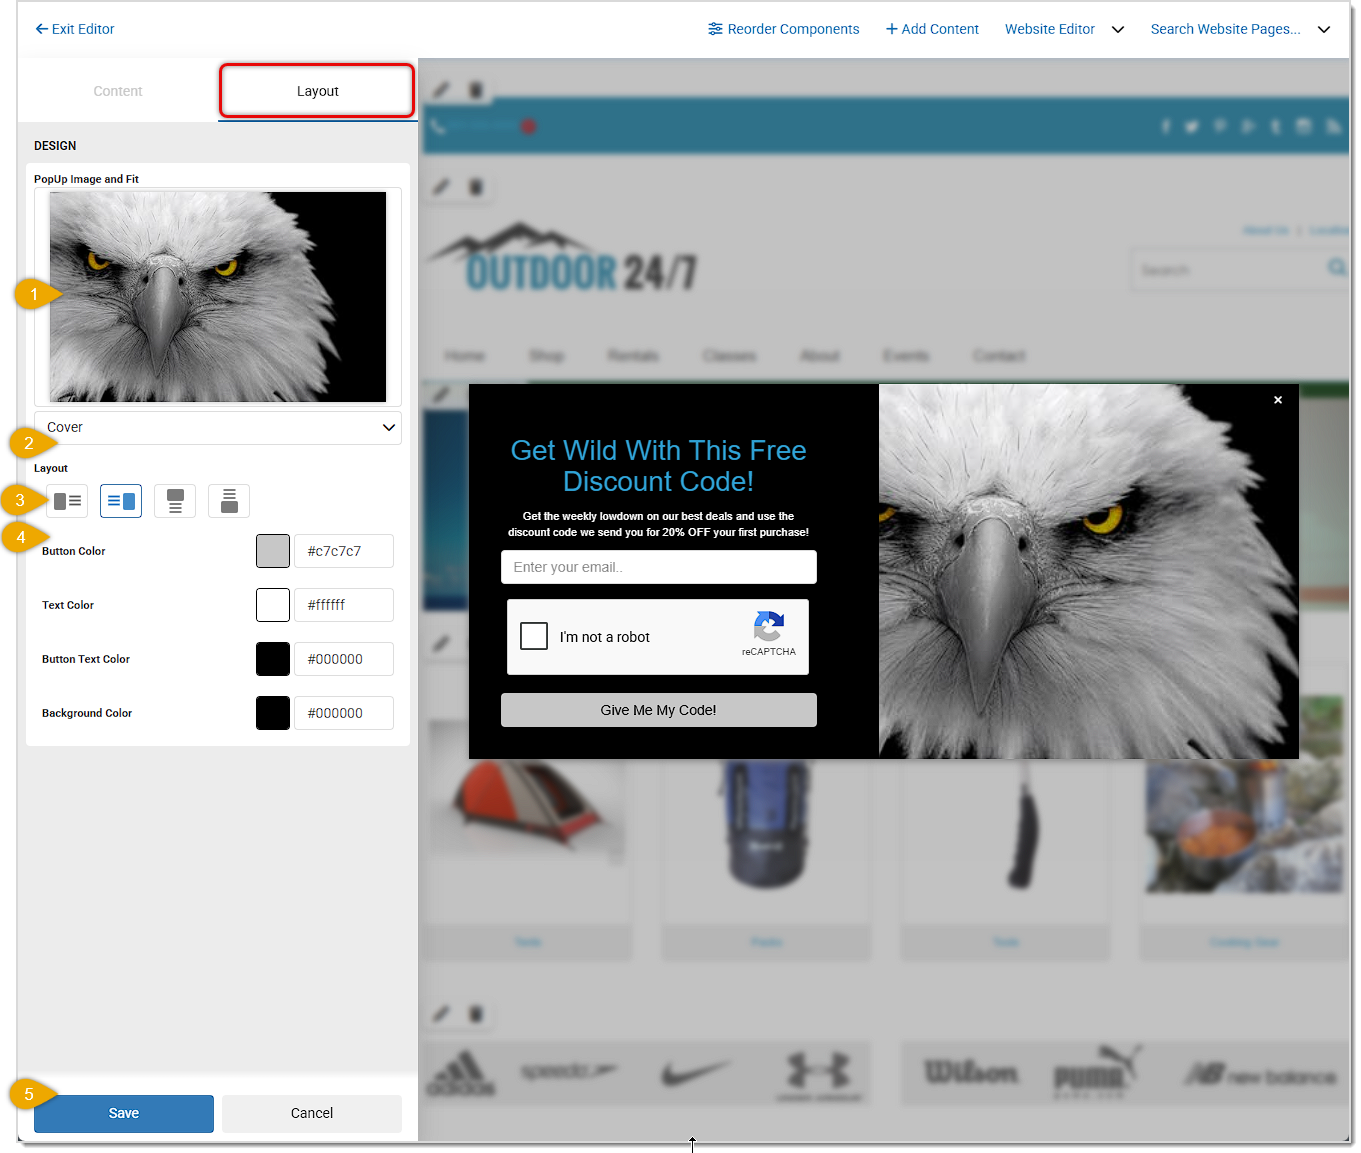
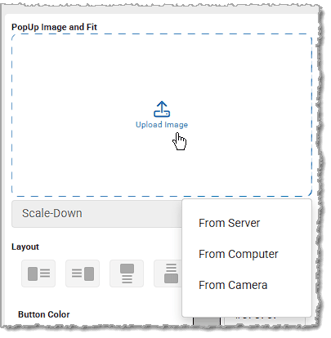
- Pop Up Image — You can either drag and drop an image into this area or click on it to view your upload options. As pictured below, you can upload From Server, From Computer, or From Camera.
- Image Fit — Use the drop-list to choose how the image fits within its container. Here is how the options work:
- Cover — (Pictured above). This option will fill the available area in the Layout you choose (see #3 below). This option may crop the image on the connected side, as in the example above.
- Contain — This option will display the entire image, adding space vertically (as pictured below) or horizontally based on the image orientation (landscape, as below, or portrait), respectively. This option will upsize smaller images to fit in the container.
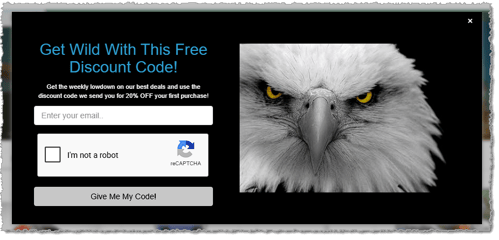
- Fill — This option will fill the available are with the image and can stretch or compress the image (as pictured below), depending on the orientation and the Layout (see #3 below).
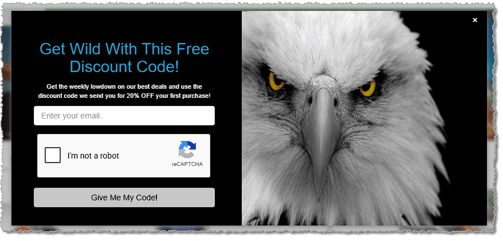
- Scale-Down — This option will scale larger images down to fit within the display area. You may see extra space vertically or horizontally based on the image orientation. This option does not scale up smaller images.
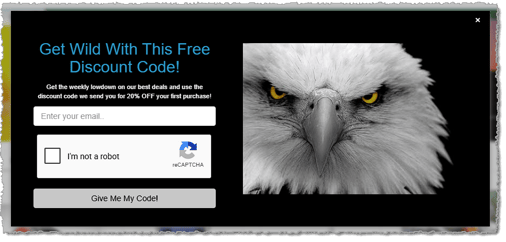
- Layout — Choose the arrangement of the image and form content. Options include image on the Left, Right, Top, or Bottom.
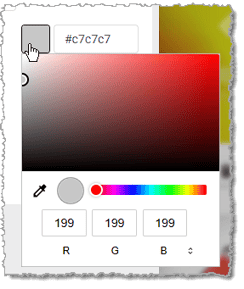
- Element Colors — You can click the hex-code fields to enter a color code, or you can click a color swatch and use a color picker to set the color you want for each of the form elements. Elements include:
- Button Color — The background color of the submit button.
- Text Color — The color of the title and message text.
- Button Text Color — The color of the text on the submit button.
- Background Color — The background color of the popup.
- Save — Once you've configured your content and layout, click Save to apply your changes. Please note that saving the Marketing Pop Up will close the panel.
Steps for Adding a Customer to a Mailing List Click Customers > Customer List. Search for the Cus
Working with Email Lists To get to this area, click Marketing > Email Lists. The main screen of t
Go to Marketing > Coupons and click the +New Coupon button to begin creating your coupon. When cr


Is this page helpful?
×Help us improve our articles